I thought it might be a good idea to post a group photo to show the relative sizes of the willow boxes.
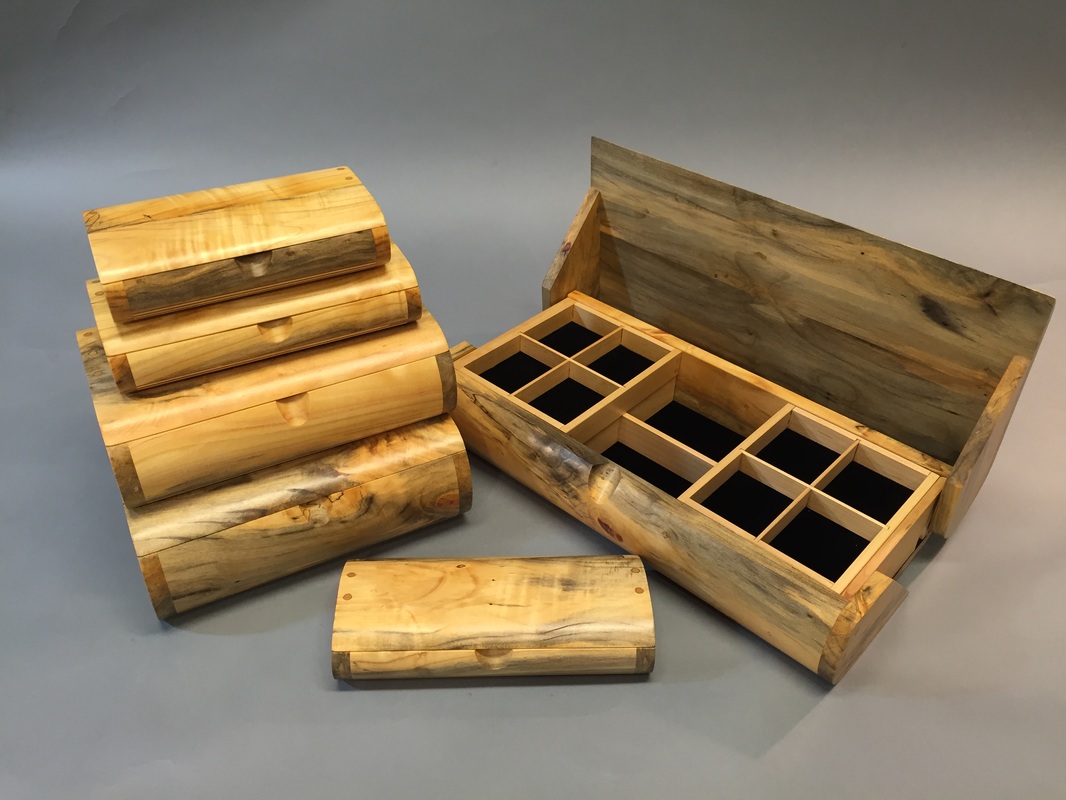
Stacked boxes, top to bottom: BX-04, BX-03, BX-06, BX-16. Open: BX-17. Front: BX-02p.
|
|
|
I thought it might be a good idea to post a group photo to show the relative sizes of the willow boxes. Stacked boxes, top to bottom: BX-04, BX-03, BX-06, BX-16. Open: BX-17. Front: BX-02p.
1 Comment
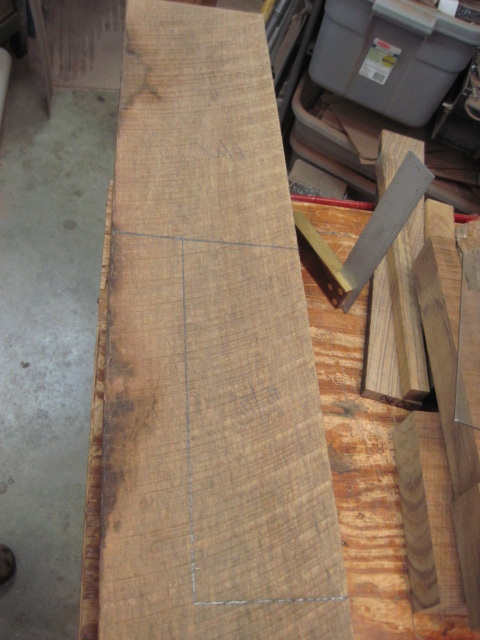
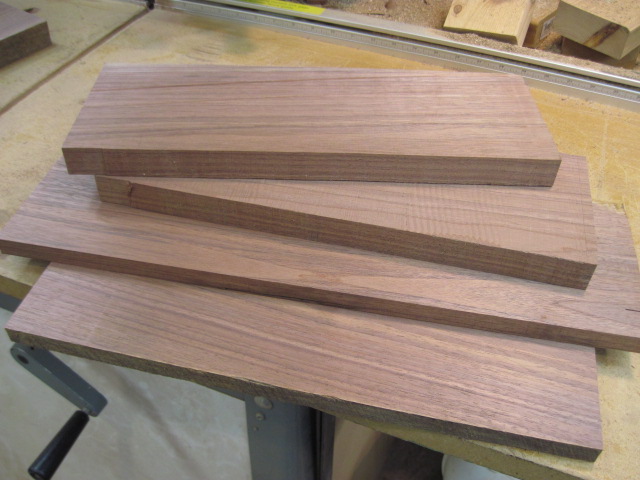
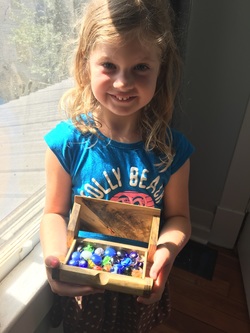 Evan, our fearless leader's daughter, has already filled her new box with some of her treasures. I have finished the boxes made from the willow log we "rescued" on the French Broad River last year. Erin, Angie, Dana, and Brian have already claimed their boxes (thank you all!) The boxes that are still available are shown below. The folks who were on the STFB trip will have first choice, then I will take any that are left to the Craft Fair of the Southern Highlands here in Asheville beginning on Thursday, July 21. They may also be ordered by phone or email by anyone at that time. Remember, all of the money raised will be donated to Mountain True to help them continue their work in Western north Carolina and on the French Broad River!  Last July I posted about a log that I picked up during a paddle trip down the French Broad River. The wood has been air drying in my shop since then, and it is now dry and ready to use. Today I did some milling, cutting and laying out. Below are some photos of the results, click on any of the thumbnails for larger images. There is enough wood to make the following boxes:
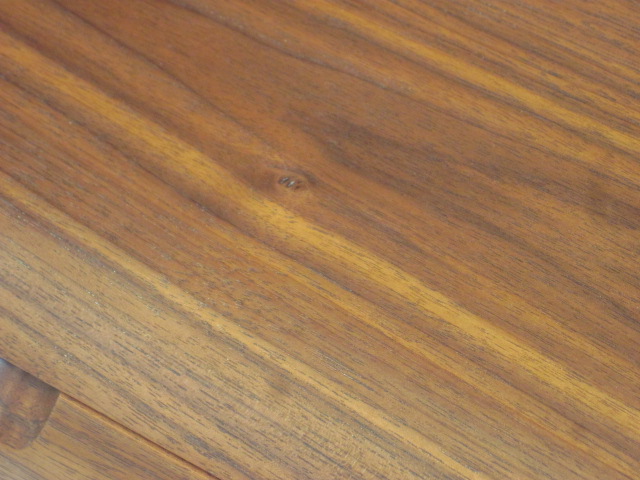
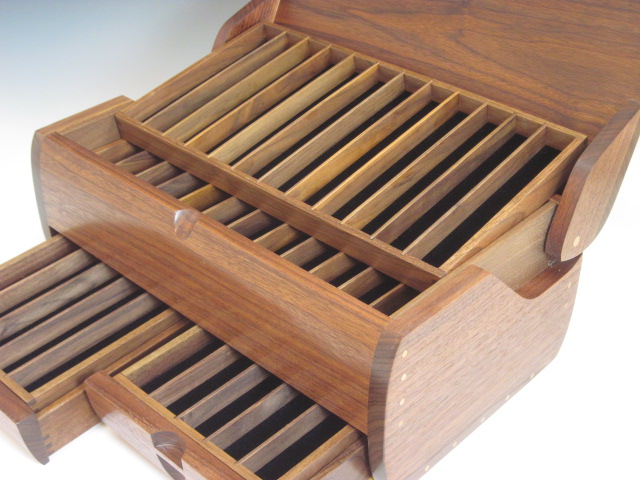
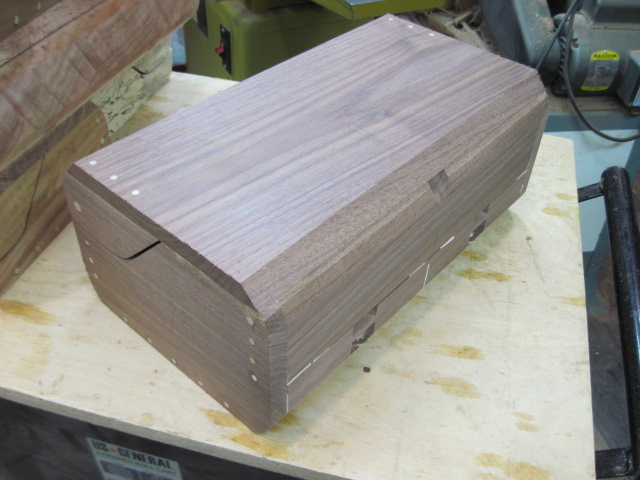
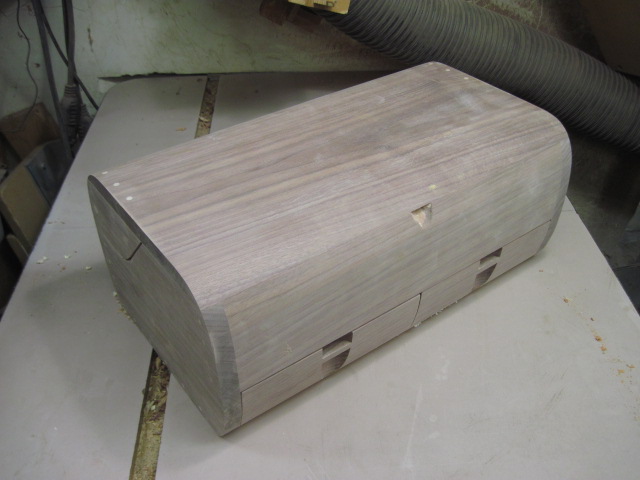
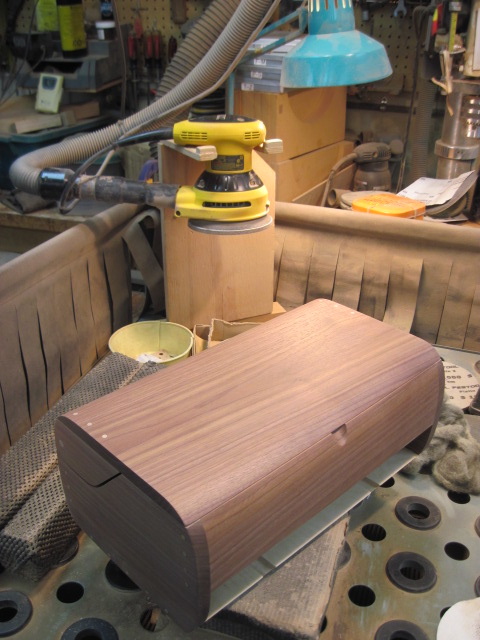
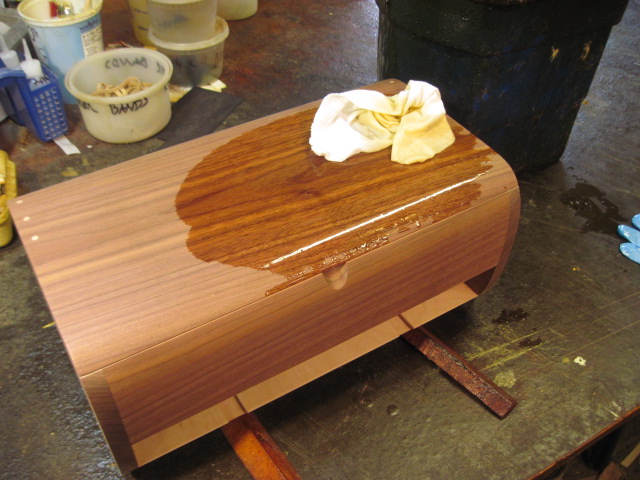
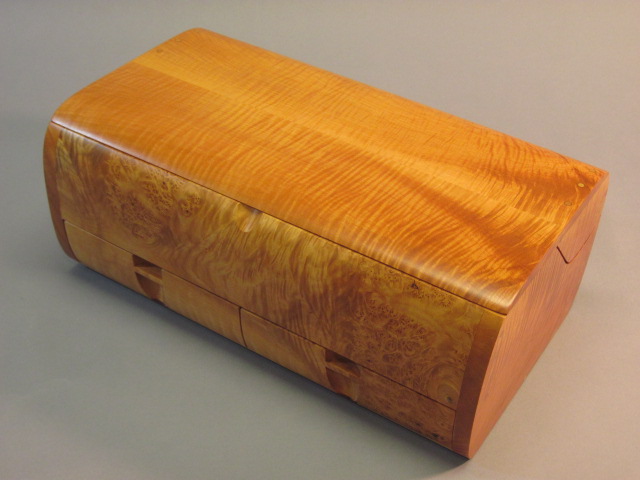
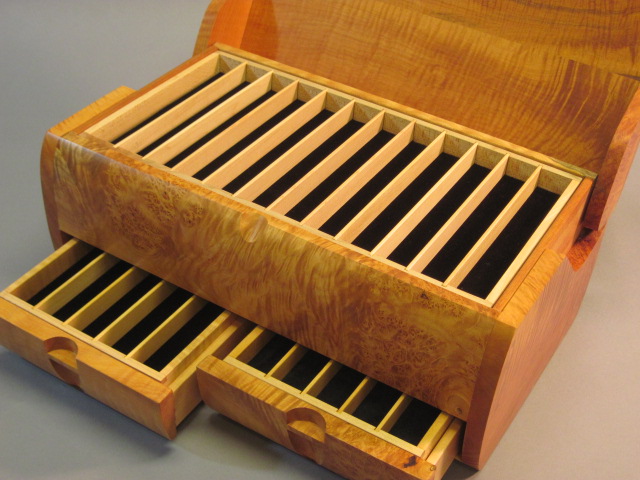
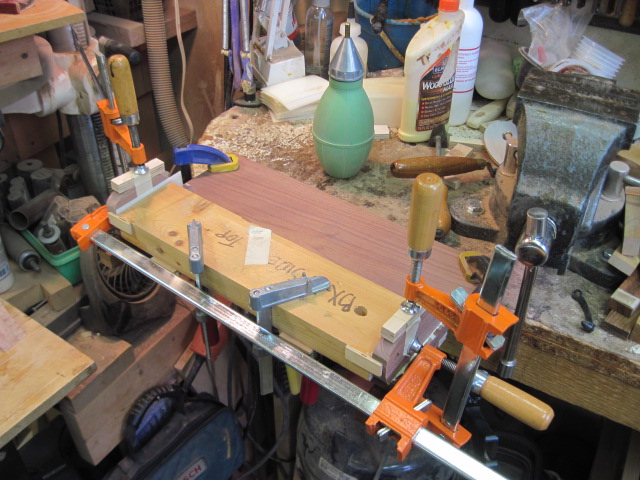
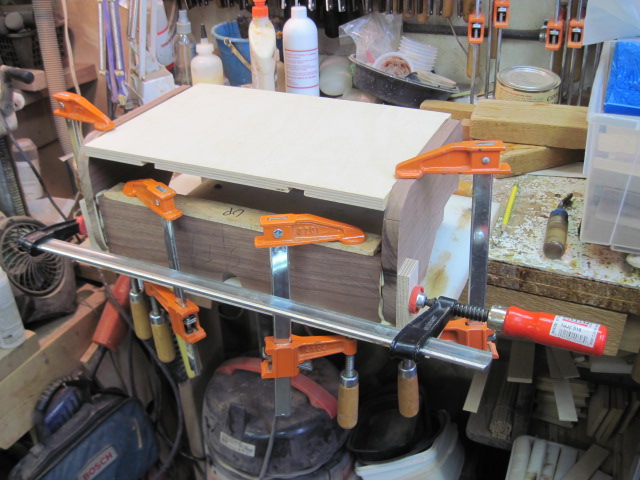
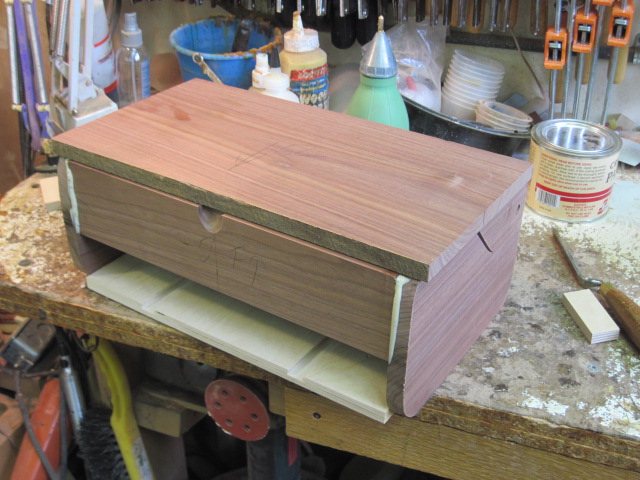
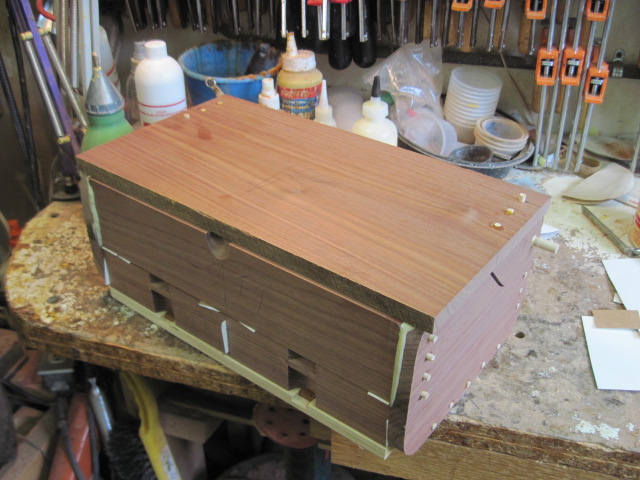
Tad's box is now finished. I hope you enjoyed seeing the process. Recently, a customer ordered a pen box and expressed an interest in seeing photos of the work as it progressed. It occurred to me that others might be interested in the process, too, so I decided to post about it here in my blog. The box ordered is a BX-20, 15" x 9' x 6.25", in walnut, to hold 56 fountain pens. It will be similar to the one below, but in walnut instead of curly maple.
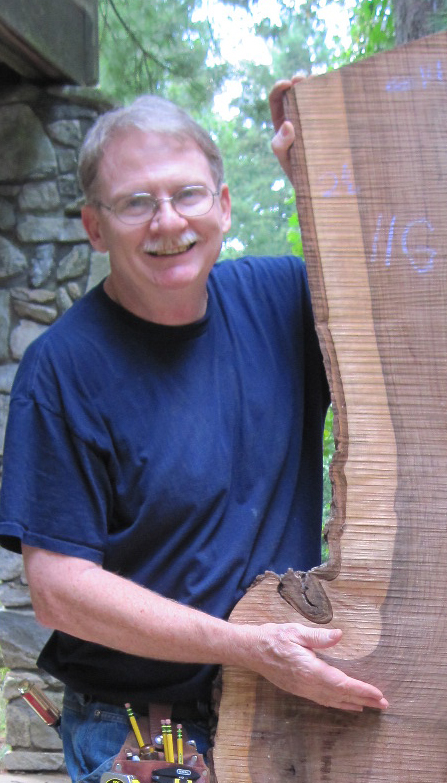
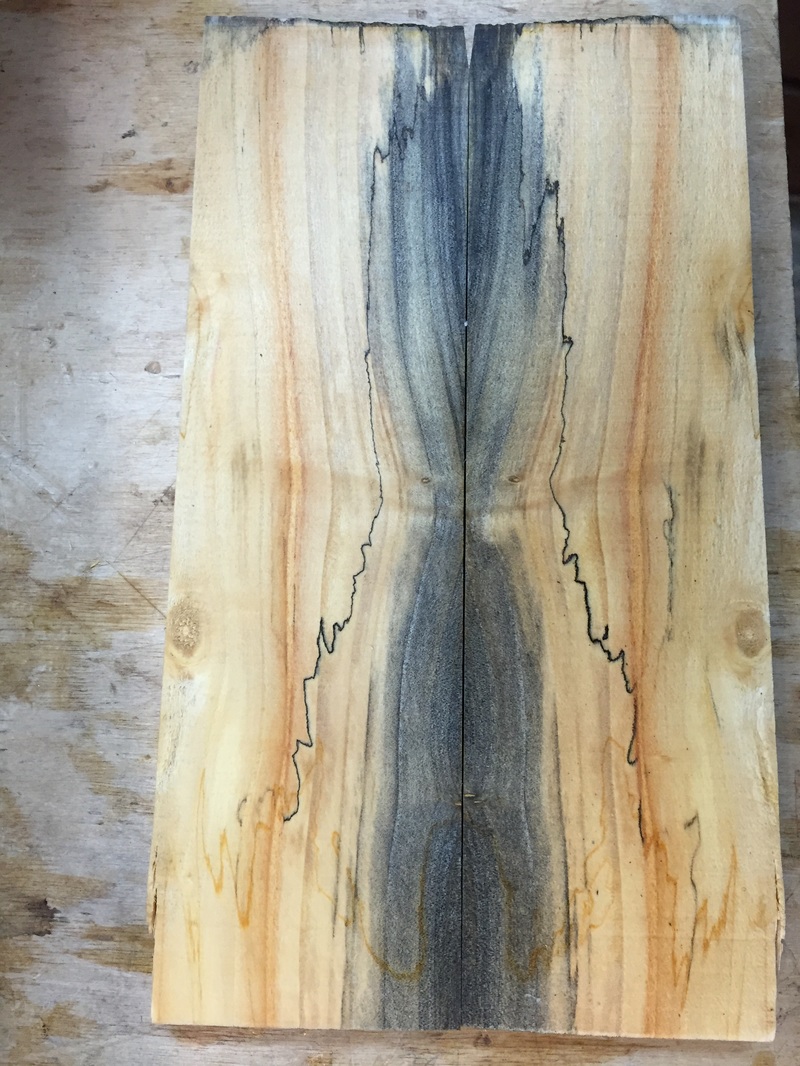
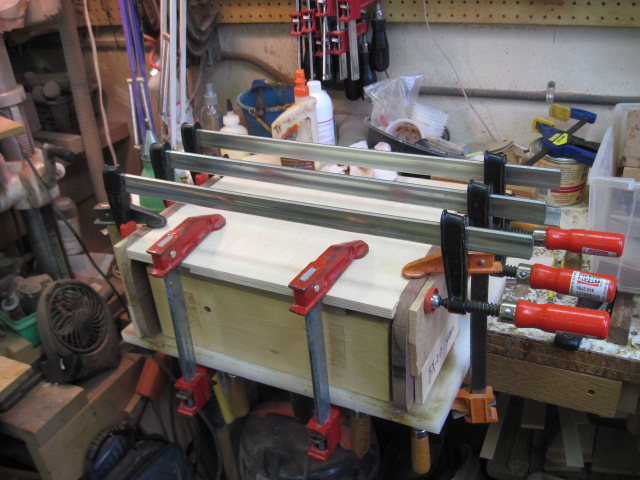
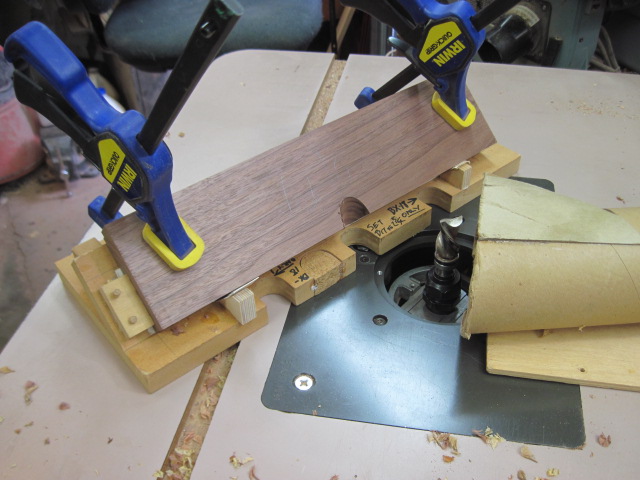
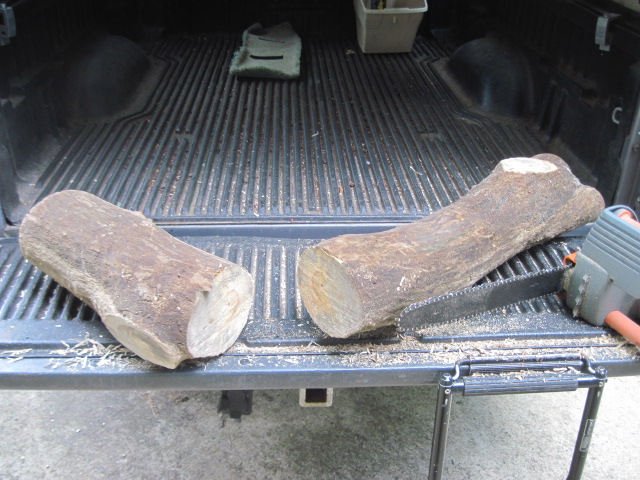
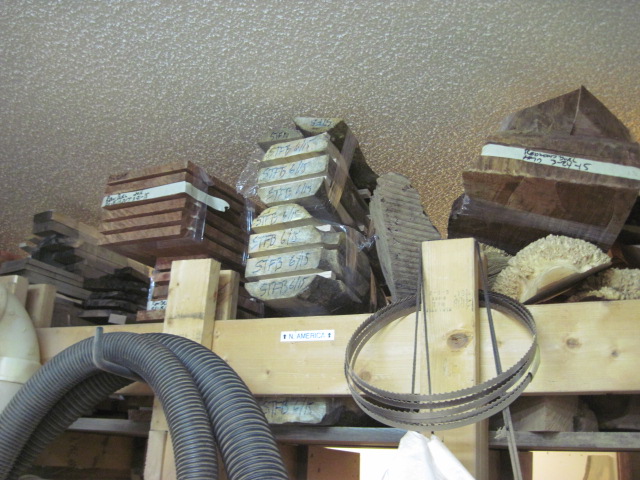
Material preparation and layout. Assembly 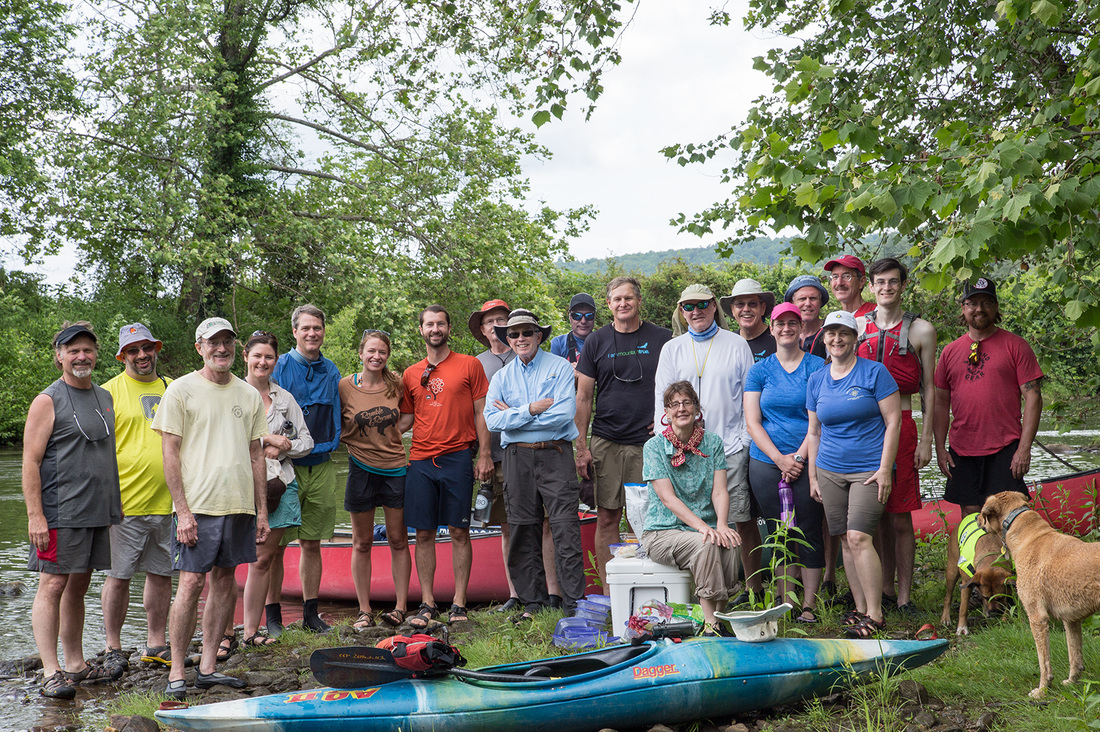 In late May I set off with this group of people on a five-day paddling trip on the French Broad River from Rosman to Asheville, NC. The trip was sponsored by MountainTrue to raise money and awareness to help protect this beautiful river and to have a great time doing it. As usual, I brought along my hatchet and folding bow saw, just in case we came across an interesting piece of wood. On the next-to-last day of the trip I spotted a likely looking log, already cut. 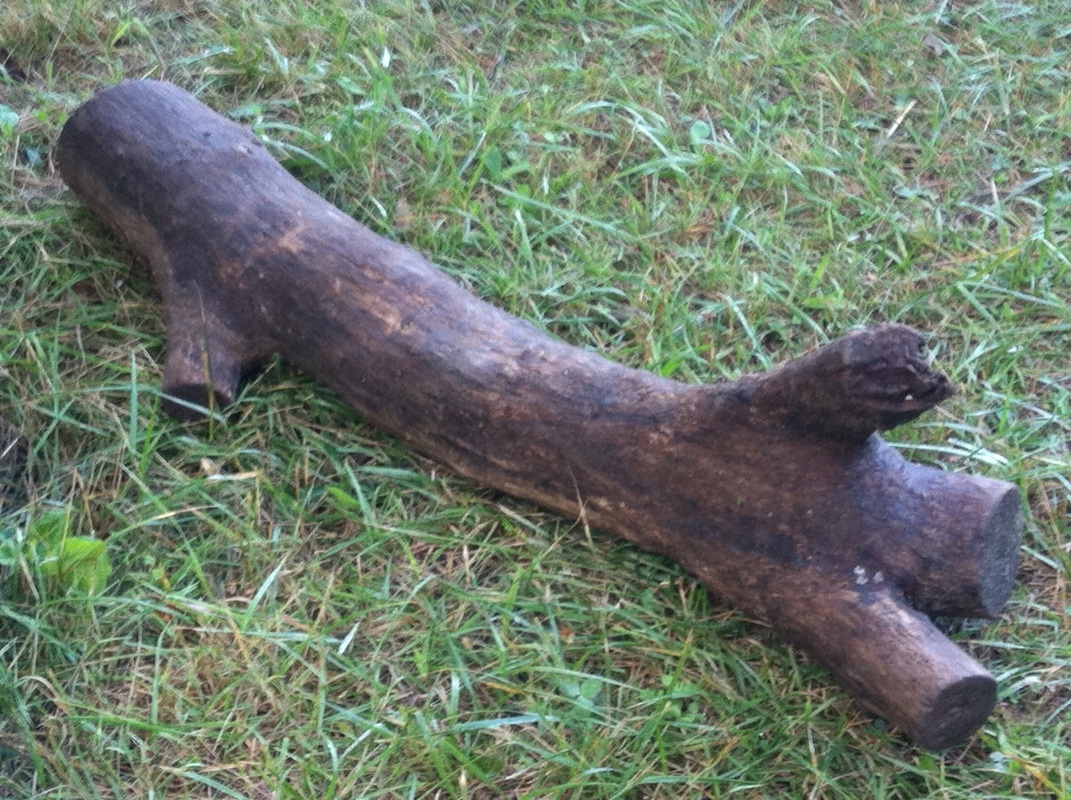 This small log was lying on top of a huge fallen tree trunk, where it had come to rest during the last high water. I tried to tow it downstream behind my kayak, but that didn't work at all, and it immediately got caught in a strainer. With the help of several of the other boaters, we were able to rescue it and put it into the bottom of one of the canoes.  When we got to the next campsite, we loaded it onto the boat trailer until the end of the trip. After the trip, I took the log to my shop and cut it into pieces for drying. It was not easy to identify the wood. The log had no bark or leaves to identify the tree. I took a slice of the wood to the experts at a local exotic wood dealer, and they think it is willow, which seems very likely. Whatever it is, the wood exhibits some interesting colors and a little bit of spalting, and I'm sure it will make interesting boxes. 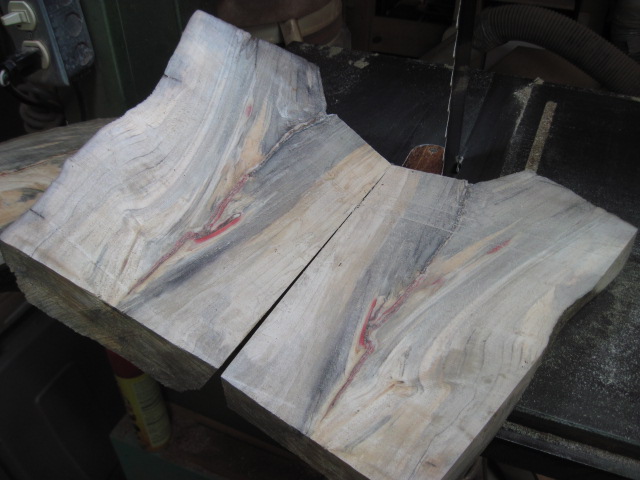 In a few months, after the wood is fully dried, I expect to be able to make quite a few small boxes. Proceeds from the sale of these boxes will go to MountainTrue to help with their efforts to protect the French Broad River. If you would like to be notified when the boxes are ready for sale, just hit the contact button below or here and send me your name and email address.
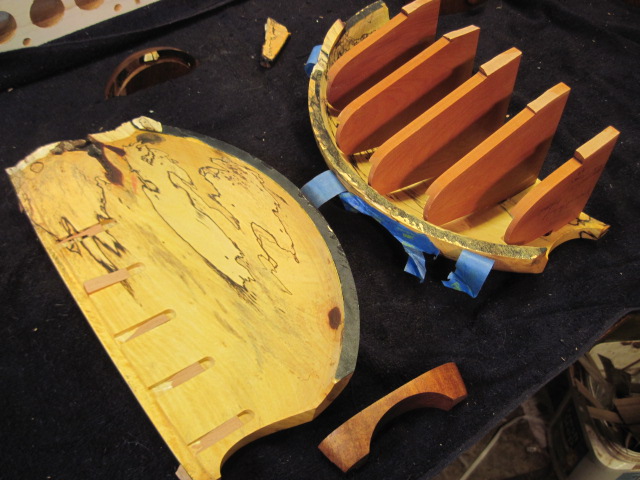
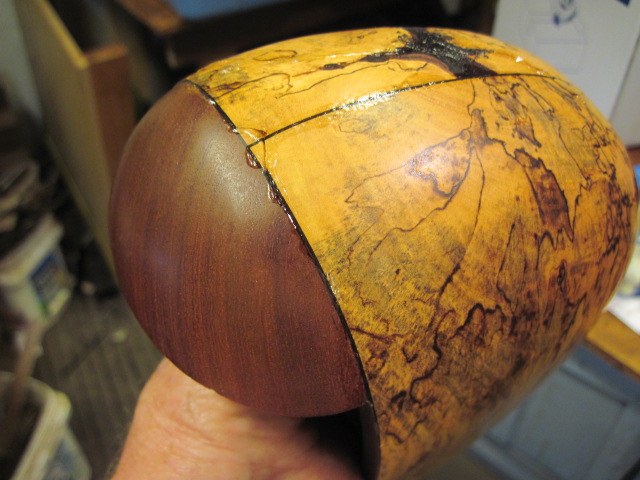
I would like to express my thanks to all of the members of the expedition, and in particular to Dana, Erin, Angie, Jim and Alex for helping me retrieve the log. Almost a year ago a customer sent a halfmoon box back to me for repair. It had fallen off a shelf and hit the floor, but from the parts I received it looked like it had exploded! 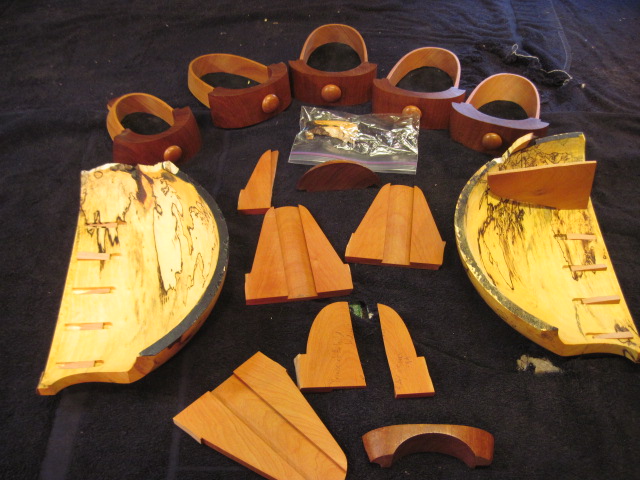 This is what the box looked like when it arrived at my shop last June. Fortunately, all the pieces were there, except for some very small chips. 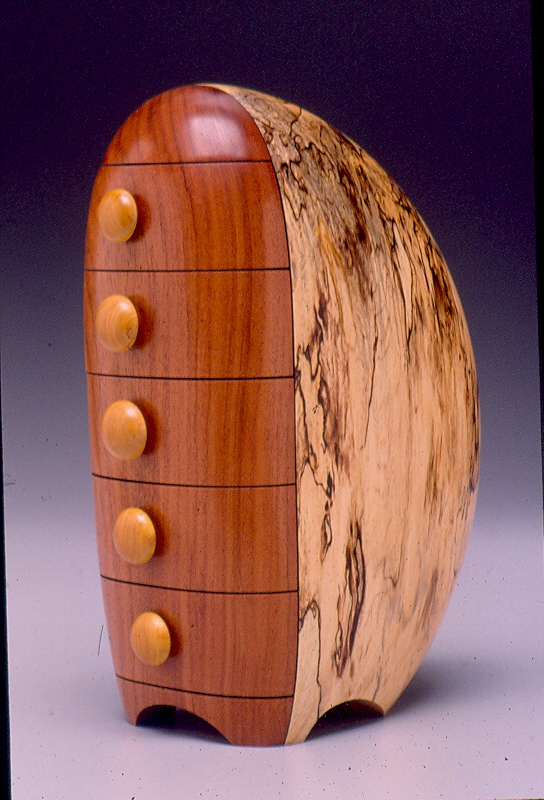 This is what the box looked like when I made it back in 1999. The body is Indian Tamarind, the front is Wild Tamarind, and the pulls are Prince Wood, all from the Florida Keys. I called it "Prince of the Wild Indians." When the parts arrived, I couldn't imagine how I was going to put them all back together. Normally, when constructing a halfmoon box there is a step by step sequence that I follow. But, due to the nature of the breakage, many of these parts had to be reassembled at the same time, and in a different order than I would normally do. After thinking about it off and on for almost a year, I finally tackled it a couple of weeks ago. After this, I had to fill in a few places where chips were missing, sand the entire box, oil twice and buff. Here's the finished piece: 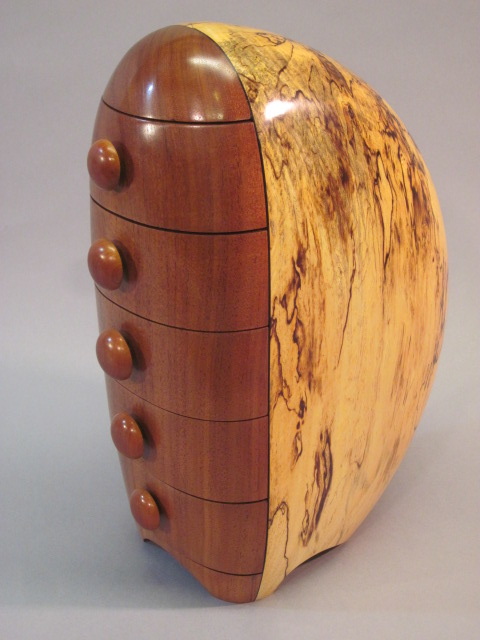 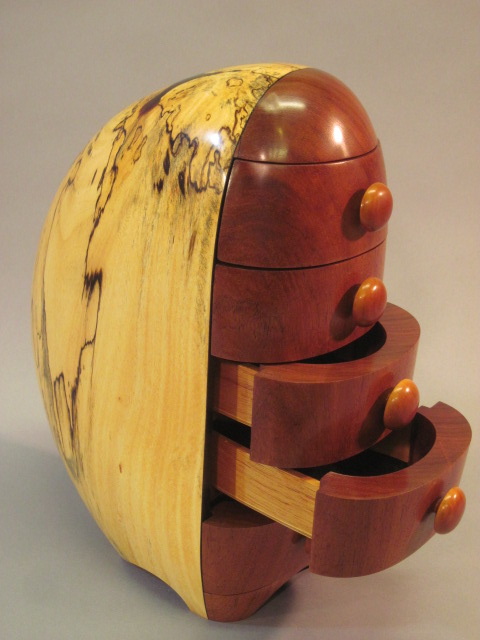 Not too bad. What do you think?
This is the first post on my new website, and my first blog, ever.
I originally made my website using Microsoft FrontPage. Once I became familiar with it, it worked well and produced a pretty good website. Some time ago Microsoft stopped supporting FrontPage, but it still worked fine. As of today, my website host, GoDaddy, will no longer be supporting FrontPage. So, it was time to make a new one. I created this version using Weebly. Again, it took some getting used to. But, I think the result is pretty good, and I finally did some much-needed updating. Please take a look and let me know what you think! |
Archives
July 2016
Notes from the shop
I will write occasional posts about interesting woods, new designs, etc. Please feel free to comment! |


 RSS Feed